Month: April 2021
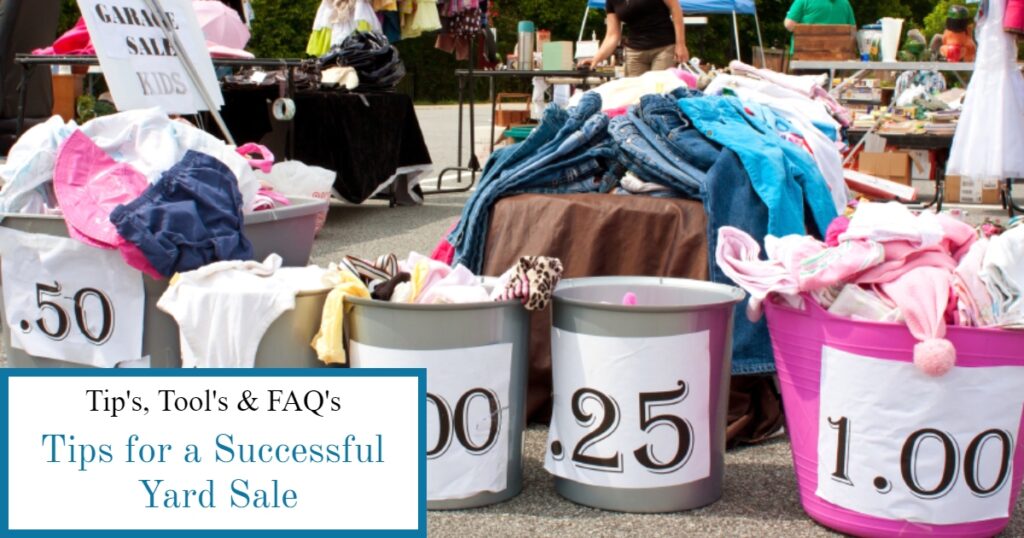
Tips for a Successful Yard Sale
The official start of Spring is in March but in Maine Spring begins for most with the first yard sale. Yard sales are a favorite hobby of the avid bargain hunter. Hosting a successful yard sale is a lucrative event. Successful yard sales take planning and organization, so having a clear plan of action can greatly reduce the stress and extra work associated with a yard sale. There is a huge difference between a well planned yard sale and one thrown together at the last minute. It’s evident the second you walk into the yard. Rows of neatly laid out items, clearly marked with prices as opposed to piles of things heaped on the lawn with no tags. It’s definitely worth the time and effort to plan and organize your sale. Most people will walk away from the heaps of items piled on the lawn. Tips for planning a successful yard sale are below.
If this is your first time hosting a yard sale take a little time and think about the yard sales you have been to. Were the items displayed in a pleasing manner, how were things tagged, what did the signage look like. These clues can help you plan your yard sale with a few extra tips listed below.
Planning Tip:
Plan far in advance. Choose a date and stick to it. Decide if it’s going to be a one day deal or a two day event, typically 2 day events are more successful. This will help you break down the list of things that need to be done in a timeline. The timeline will help you keep on track and make sure you aren’t rushing at the last minute to complete tasks that could have been done weeks or months ago for a smoother sale. This is what a typical timeline could look like.
January/February: Declutter the house and sort sale items, donation items into bins. Throw out the other things that no longer have a use. Arrange to donate the items sorted to appropriate organizations.
March: Clean, wash and repair all the items for the yard sale. Organize them into boxes or totes to keep them organized. Price the items that need to be priced. PRO TIP: Sort into categories to make set up at your sale easier. Label the totes with the category. The Dollar Store is a great place to find inexpensive price tags or masking tape and permanent markers for pricing your yard sale goodies!
April: Research expensive items or old items for their current value. You wouldn’t want to put Aunt Betty’s 1890 painting she had hanging in her living room for $5.00 to find out it’s worth $5000.00 to a collector. Those items will require a different kind of sale to gain the best value from them. PRO TIP: Pricing can be tricky too high and no one will be interested so remember yard sales are for bargain hunters and price accordingly. It is best to keep sentimental value out of the equation when deciding on a price. For new or larger items like furniture, the best rule is 25 to 30% of the original value. For example, you purchased a table for 100.00 ten years ago and it’s still in great shape, at your yard sale the price tag should be 25 to 30 dollars and be prepared to haggle.
May: Make signs that are easy to read. Plan out your advertising. Keep it simple to gain the biggest return on your sale. Plan how your yard sale will be laid out, keeping in mind the successful yard sales you have been to before. Gather the items you need for the day of the sale: tables, chairs, cash box, cooler with lunch etc. Have an exit plan for the yard sale: a bag full for 1.00 so you have less to take down or nothing special because you plan on having another yard sale in the next weeks or months. Know ahead of time what you want so you can plan accordingly. PRO TIP: Keep your signs simple and easy to read, choose fluorescent colors to catch the eye. Keep the sign to three lines: YARD SALE, Date & Time, Location remember people will be in their cars driving by so the larger the letters the better. Also choose a stop sign or location where people will have to be going slow so they have time to read it all. If you need extra tables consider using boards and boxes to create tables. Plan on donating the left over items from your yard sale? Make arrangements now to drop off or arrange to have someone pick up your donations.
Week to several days before sale: set up tables and put up the signs in strategic locations to make people aware your sale is happening. PRO TIP: Plan the layout of your sale and have it on paper so when it’s time to set up you have a clear idea of where things will go.
2 days to the sale: start putting out things that can be protected from night time dew or rain. You can hide sealed totes under the tables making the day of the yard sale an easier set up. Have help moving big furniture pieces into place and cover them with plastic for protection. PRO TIP: This would be a great time to verify everything is clearly marked with a price. If you like to haggle you can make your yard sale a “name your price” sale but have in mind a fair price for someone who doesn’t want to haggle. Use the Dollar Store again for inexpensive plastic tablecloths or coverings.
1 day away: get balloons to add at the end of the driveway with your sign to catch people’s attention. Put out as much stuff as you feel will be protected from night time moisture to help you be more prepared for the day of the sale. Make sure you have change for sales and bags to help people take home their treasures. If you need to make signs for the fill a bag for the last hour of your sale have them ready. PRO TIP: Have help lined up to help you set up and take down the sale at the end. Set up your check out area in the shade or have a popup canopy for your protection from the sun.
Day of the sale: Make sure you have enough time before the sale starts to have everything set up. Have your cooler packed the night before with your water and lunch to save time. Place your attention-getting sale sign with the waving balloons early. Lock your house for your protection while the sale is going on. You wouldn’t want strangers wandering into your home while you were occupied with the sale. Another safety tip is to keep your coins for making change in a money box but the bills on your person. PRO TIP: Have someone lined up to come give you a quick break to use the restroom throughout the day.
This is a basic outline, it can be changed to suit your needs. Clearly planning helps keep your sale moving along and eliminating the last minute rush and stress. Ultimately the success of your yard sale rests a lot on the items you have available, the prices you have set and what your bargain hunter is looking for. Having a wide variety of items helps you appeal to a broader range of shoppers! Good Luck and Happy Yard Sale!
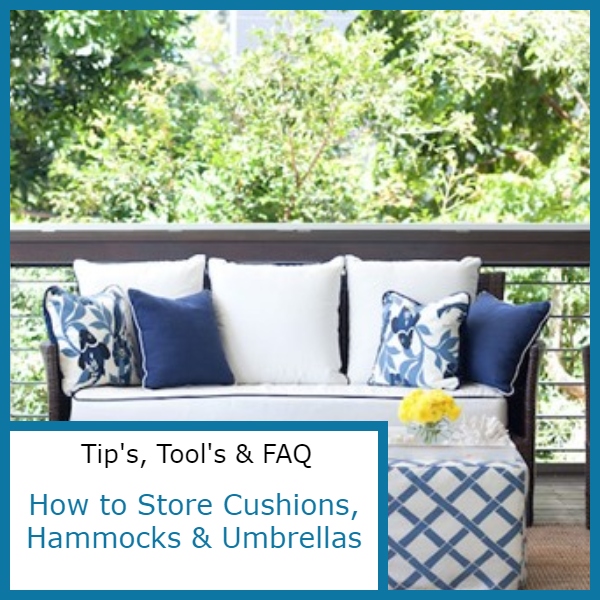
How Do You Clean and Store Patio Cushions, Hammocks and Umbrellas in Brewer, Maine?
Living in Brewer, Maine has its challenges especially when it comes to your outdoor living time. The season for patio and outdoor living in Brewer last about five months which means your patio furniture is stored appropriately seven months of the year. Ever take your patio furniture out of storage and find mold and mildew have taken up residence on your cushions, hammock or umbrella material? Preventing this phenomenon starts before putting your patio furniture in self storage. Simple cleaning tips for optimum self storage of your outdoor living investment can help prevent damage during it’s off season time.
Cushion Care:
No list of cleaning tips would be complete without discussing the cushions used to create your comfortable patio or deck space. Cushions are either removable or not. The removable cushion covers can often be washed in a washing machine with any laundry detergent. Cleaning your cushion covers by hand is the best way to give them a really deep cleaning. First remove the foam core, then remove any loose dirt by brushing the cover. Next soak the covers in a bucket of warm soapy water, then scrub with a soft bristled brush. Cleaning Tip: Scrub the inside of the cover as well, to remove stubborn or deep stains. Then rinse with clean water and allow to air dry thoroughly before reinserting the foam cores.
Non removable cushions are almost as easily cleaned. Sponge on the warm soapy water and rub to create a foamy coating on your cushions. Scrub any extra dirty spots with a soft bristled brush until the dirt is gone. Use a high pressure setting on your hose nozzle to rinse the foam and all soap residue from the cushions. Squeeze excess water from the cushions and allow them to thoroughly dry.
Cleaning tip: If your cushions already have some mold and mildew, mix a solution of 1 gallon of water, 1 cup of bleach and ¼ cup of mild detergent. Using a spray bottle, spray onto the affected area, allow to soak in for 15 minutes or so then use a soft bristled brush on the area until the mold and mildew are gone. A sponge or cloth will work equally as well to remove the mold or mildew stain. Storage tip: Place thoroughly dry cushions in plastic bags to protect them during storage. Garbage bags work great for storing cushions. Add a strong scented dryer sheet for fresh smelling cushions in the Spring plus mice dislike strong odors which will help protect your cushions from rodent damage while being stored. Keep your cushions off the floor especially if it’s a concrete floor. Moisture is the leading cause of damage to stored cushions.
Hammock Care:
Remove the hammock from its frame, lay on a tarp and sweep off any surface debris. Wet the entire hammock with a hose. Using a mixture of warm water and dish soap sponge clean all surfaces of the hammock. Rinse all soap from the hammock and dry thoroughly. Cleaning tip: If mold and mildew have stained your hammock material use full strength white vinegar and scrub the area using a hand brush, allow to sit for 10 minutes or so then rinse and allow to dry before storage. Once dry, fold and store in a contractors garbage bag or wrap in plastic to protect the hammock during storage. Storage tip: if your hammock frame is easily disassembled place it in the same bag. This will make finding all the pieces easy when you are ready to relax on your patio again next summer!
Umbrella Care:
The fabric of your umbrella is easily cleaned once you remove it from it’s frame and lay it out on a tarp to protect it from grass and dirt while cleaning it. Sweep the loose debris from the fabric, scrub any mold or mildew areas with a dry brush, then wet with a hose until all the fabric is wet. Mix a cleaning solution of 2 cups of warm water, 2 cups of white vinegar and a tablespoon of dish detergent (Dawn cuts grease). Scrub the umbrella fabric with a hand held brush and the cleaning solution until the entire umbrella is covered. Let the solution set for 10 minutes then rinse with a hose to remove all of the cleaning solution. Allow to air dry thoroughly.Cleaning tip: Treating the umbrella fabric for mold and mildew before storage will help protect it during the months stored. If after cleaning you see additional mold and mildew stains wet the fabric and scrub using a hard brush and full strength white vinegar, allow to sit for 10 minutes, rinse clean and allow to dry. Storage Tip: Place a clean and dry umbrella in a bag and tie to the cleaned umbrella frame.
Mold and Mildew Removal:
A generic mold and mildew cleaning solution that will work on most surfaces is a 50/50 mixture of water and white vinegar. Spray on the surface of your furniture, let it set 30 minutes before rinsing. Follow with a towel drying and then allow to thoroughly air dry. For extensive mold and mildew removal especially on fabrics like cushions, hammocks and umbrellas, dry brush the area to remove surface mold, rinse and allow to dry. Scrub using a hand brush and full strength white vinegar completely soak and scrub the affected area, let sit for 10 minutes then rinse off with clean water and let dry. Protecting your outdoor living and patio furniture from mold and mildew is important to prolonging the life of your investment.
Cleaning your furniture properly before putting it in self storage is the best way to protect it. An additional step would be to add strong scented dryer sheets in the bags to prevent rodent invasion. They dislike strong odors. Check with the storage facility to be sure they have pest control methods in place. With regular cleaning and proper storage you can enjoy your patio living space for years to come.
Recent Comments